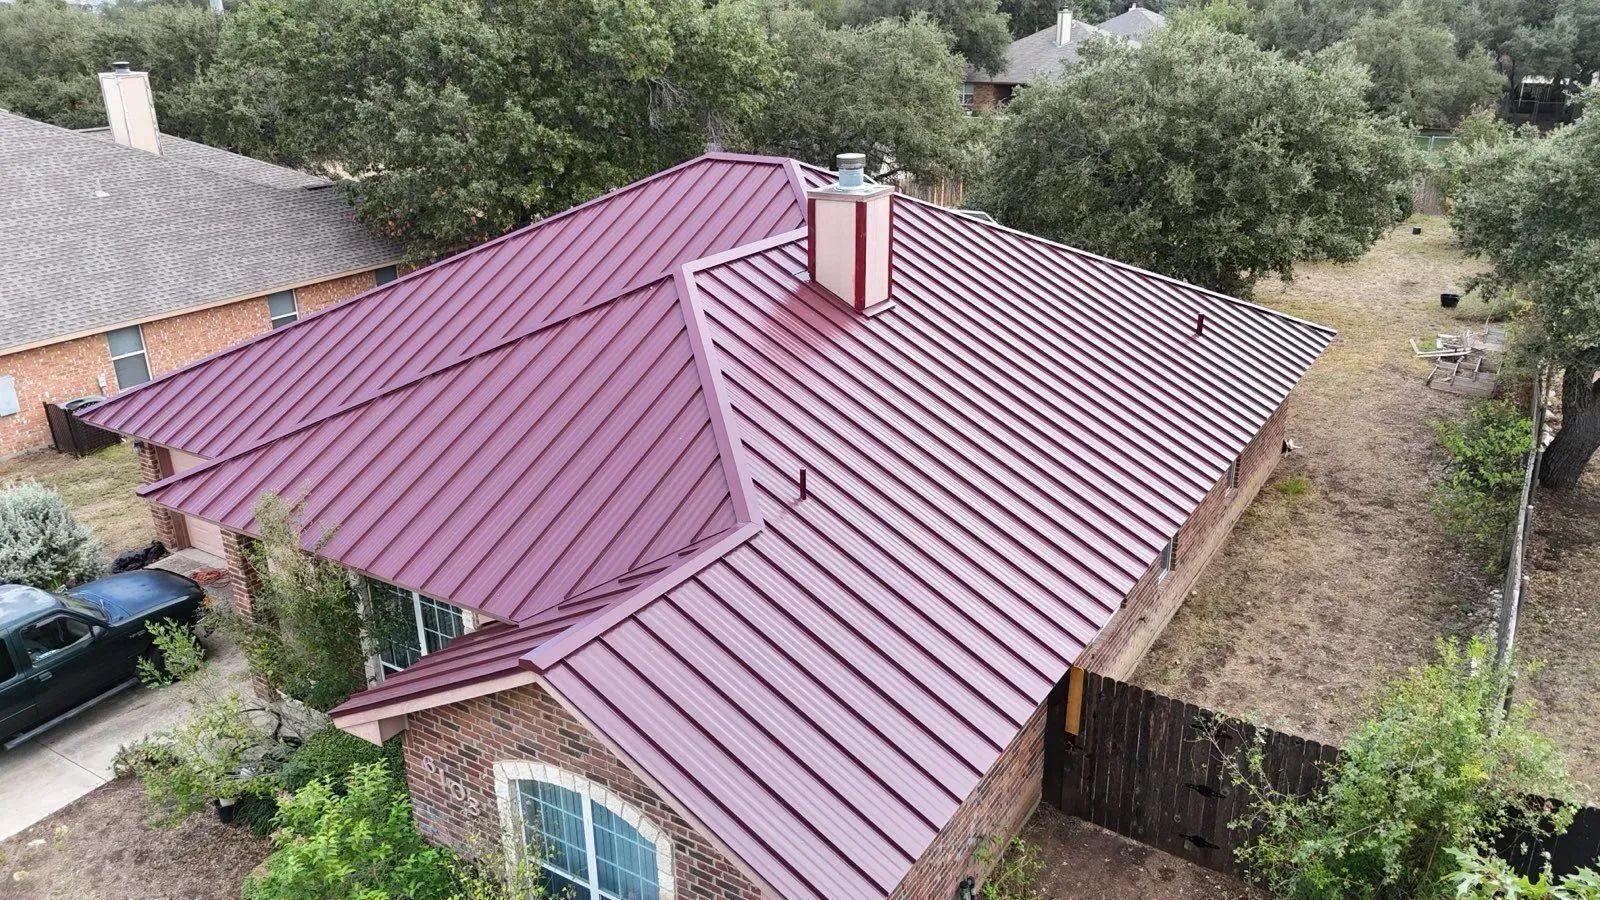
Curb appeal isn’t just about beauty—it’s a critical factor that directly impacts a property’s value and marketability. One material that's steadily rising in popularity for its blend of aesthetics and durability is architectural metal.
In Texas, where extreme weather is the norm—scorching summers, severe storms, and occasional hail—selecting the right roofing material is a major decision for homeowners.
In the roofing and exterior restoration industry, precision, efficiency, and quality control are critical. That’s why more contractors are turning to in-house sheet metal fabrication as a core part of their operations.
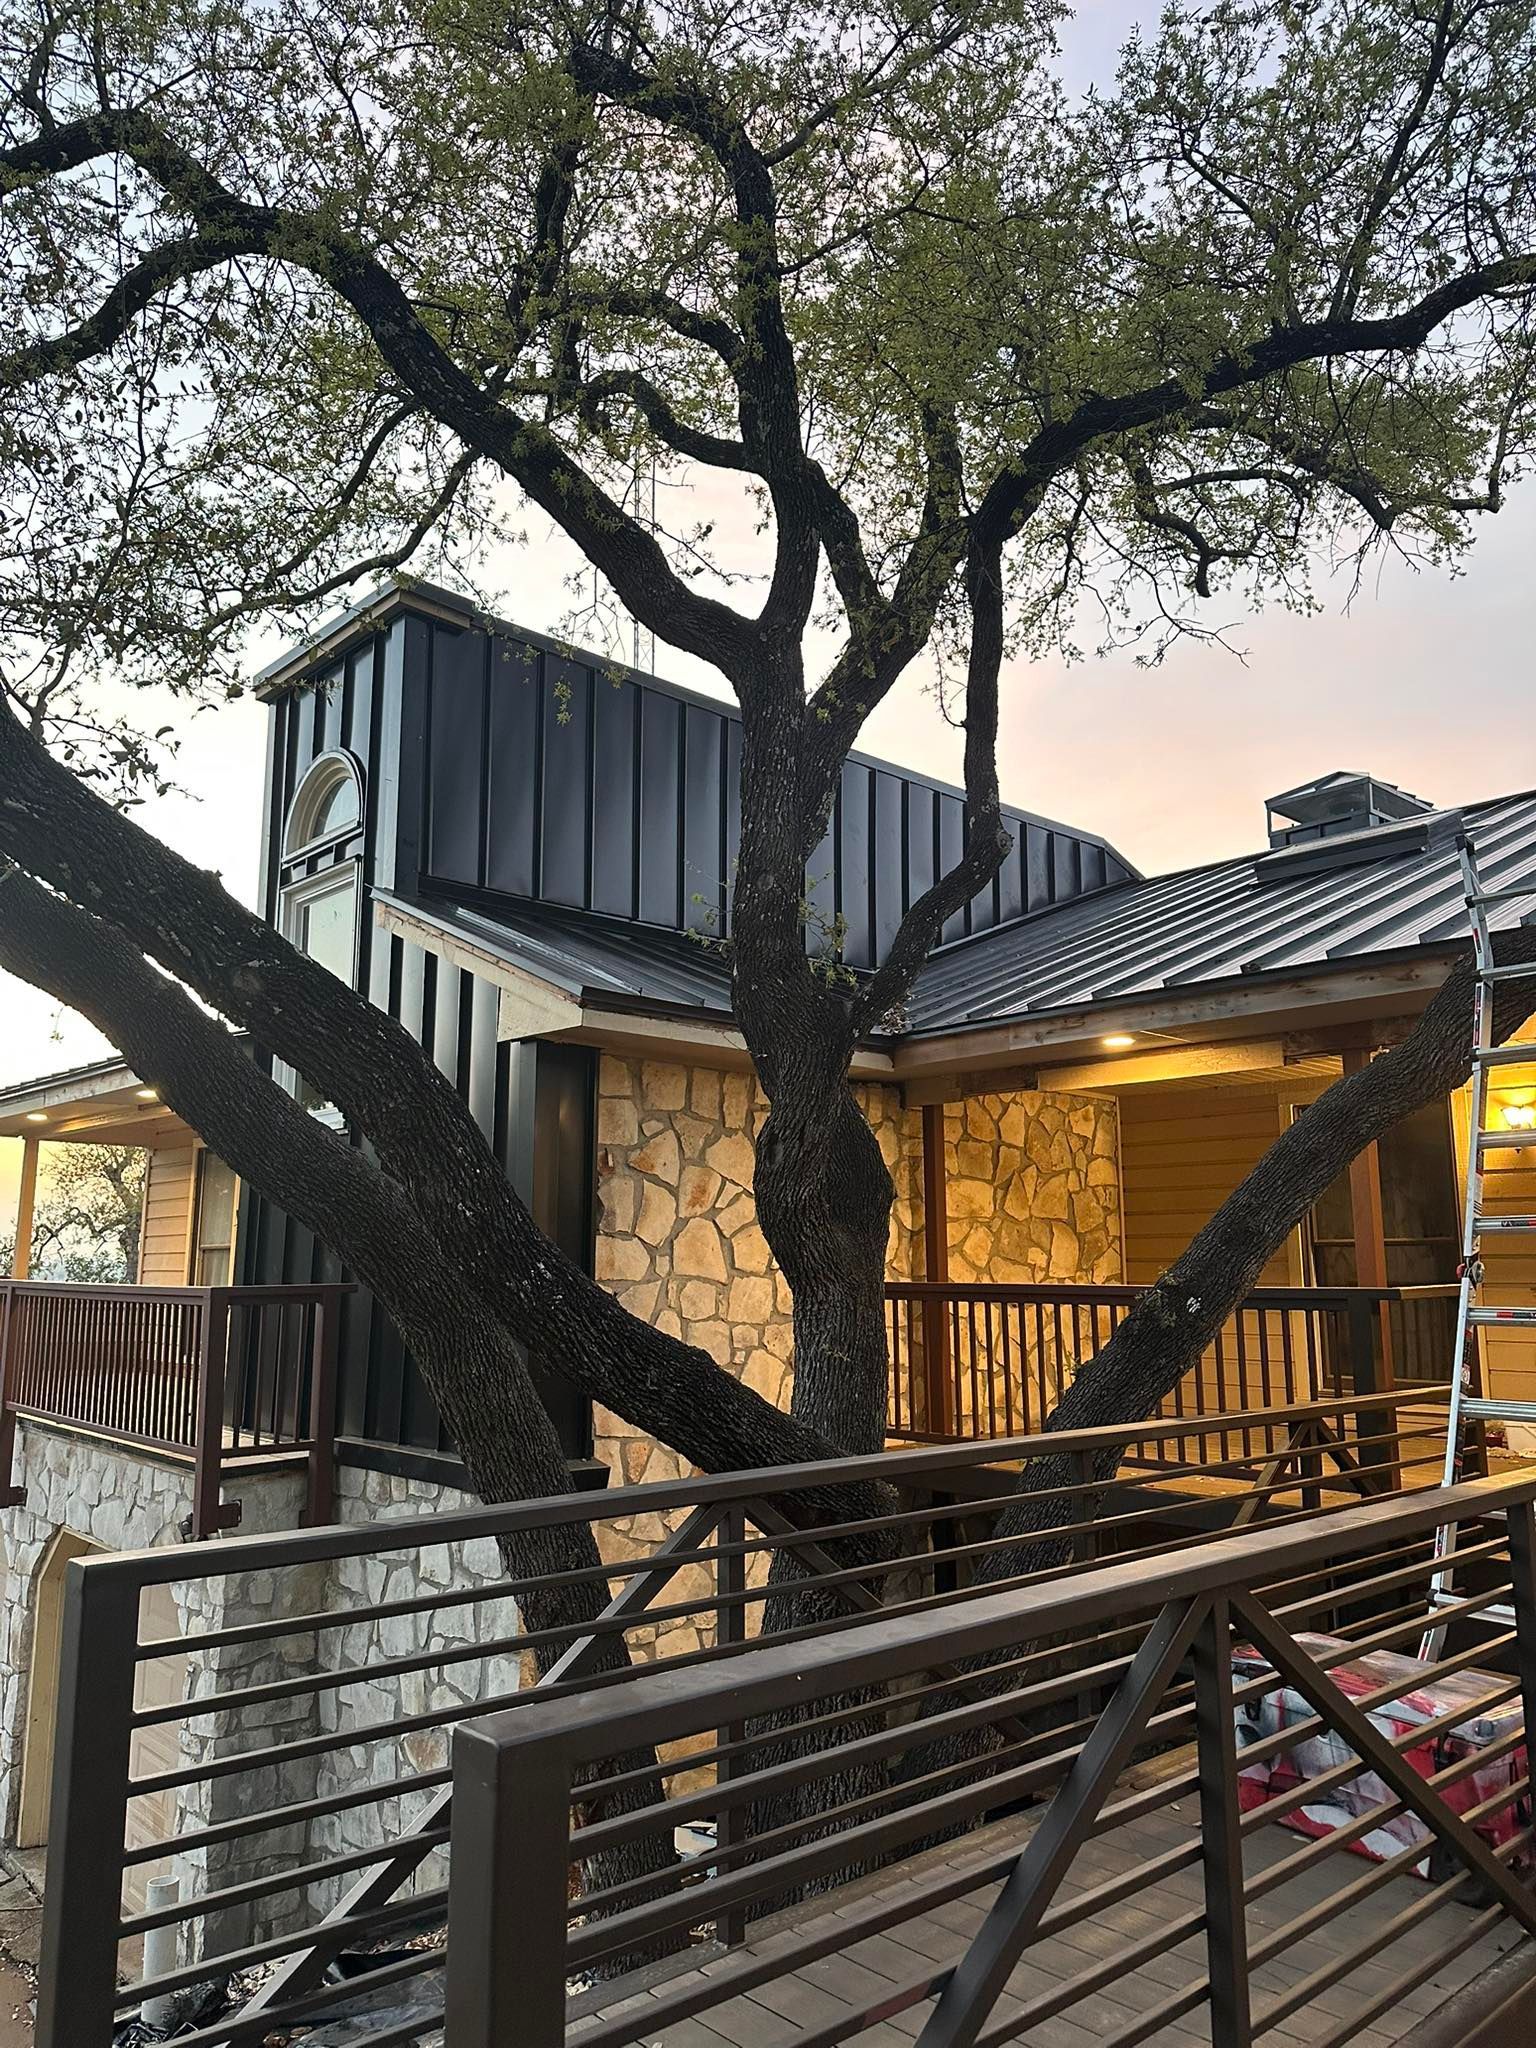
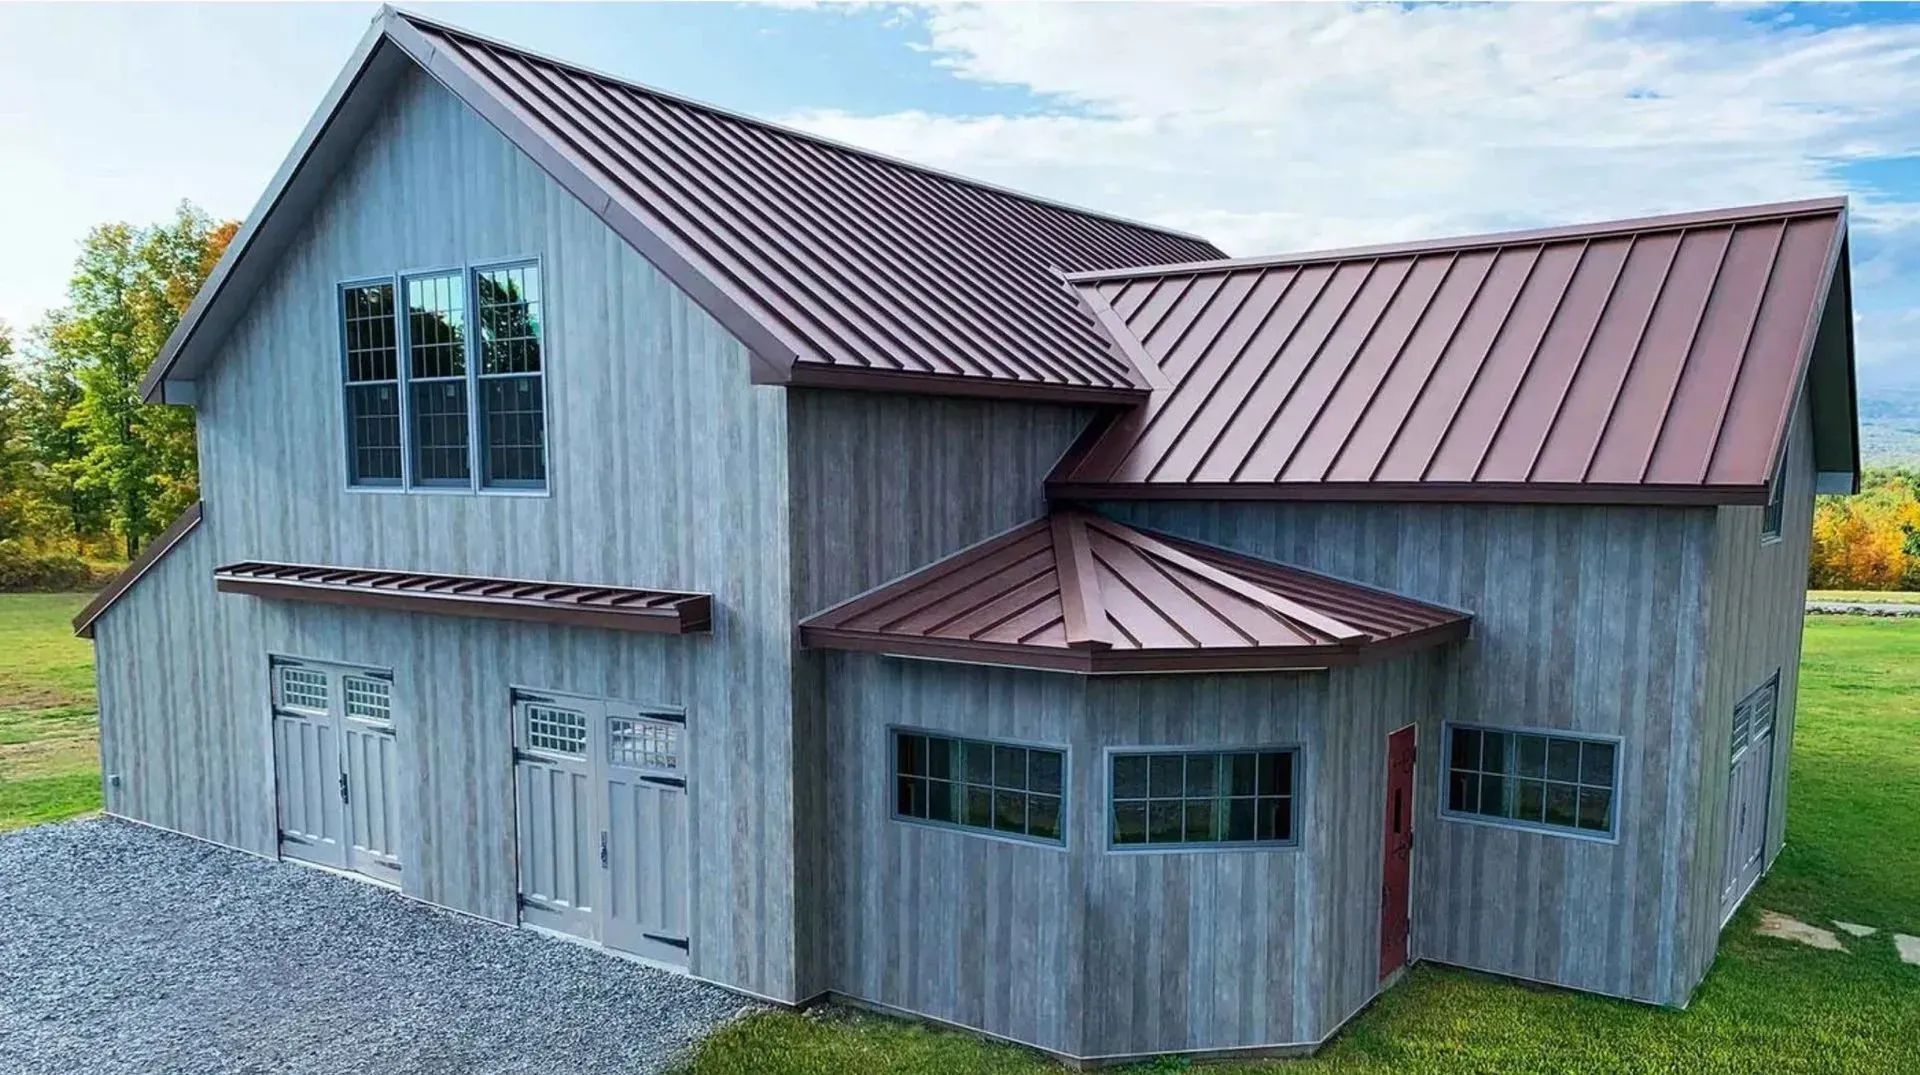
Curb appeal isn’t just about beauty—it’s a critical factor that directly impacts a property’s value and marketability. One material that's steadily rising in popularity for its blend of aesthetics and durability is architectural metal.
In Texas, where extreme weather is the norm—scorching summers, severe storms, and occasional hail—selecting the right roofing material is a major decision for homeowners.
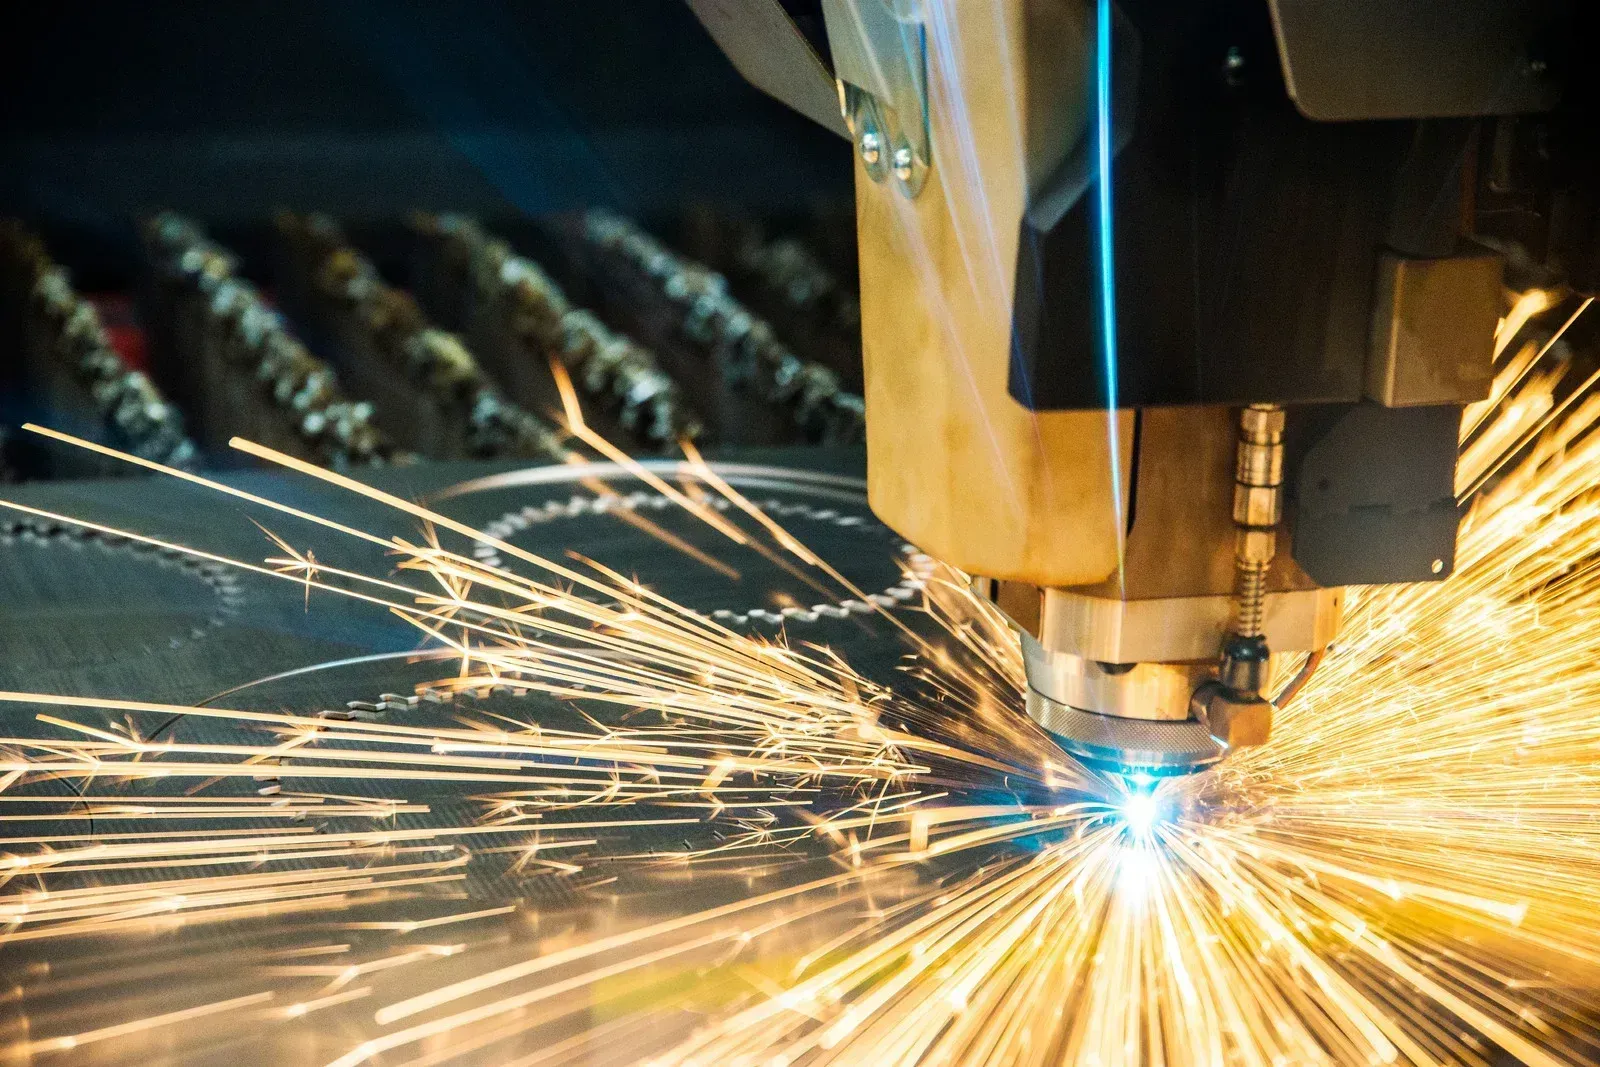
In the roofing and exterior restoration industry, precision, efficiency, and quality control are critical. That’s why more contractors are turning to in-house sheet metal fabrication as a core part of their operations.